分类 编程语言 下的文章

centos 7.2 安装Nginx和nginx-rtmp-module搭建直播流媒体服务器

本机安装目录

/usr/share/

1、在当前目录下载同版本的Nginx

cd /usr/share/

wget http://nginx.org/download/nginx-1.12.2.tar.gz

tar -zxvf nginx-1.12.2.tar.gz

2、更新下依赖相关包

yum -y install pcre*

3、下载nginx-rtmp-module

cd /usr/share/

git clone https://github.com/arut/nginx-rtmp-module.git

mv nginx-rtmp-module nginx-rtmp-module-1.1.10

4、进入nginx-1.12.2目录

cd /usr/share/nginx-1.12.2

5、编译模块

./configure --prefix=/usr/local/nginx --add-module=../nginx-rtmp-module-1.1.10 --with-

http_ssl_module

make #验证

make install
6、启动Nginx

cd /usr/local/nginx

./sbin/nginx
Nginx安装成功.jpg
7、配置conf

参考资料
github:《nginx-rtmp-module》https://github.com/arut/nginx-rtmp-module

复制一份副本

cp /usr/local/nginx/conf/nginx.conf /usr/local/nginx/conf/nginx.conf.bak

编辑配置

vi /usr/local/nginx/conf/nginx.conf

rm -rf /usr/local/nginx/conf/.nginx.conf.swp

在events {}下面添加以下代码
参考《Nginx.conf》
nginx.rar

rtmp_auto_push   on; # Multi-Worker

rtmp {
    server {
        listen      1935;
        chunk_size 4096;   #//数据传输块的大小
        allow play all;


        application live {
             live             on;  # 启用rtmp
             #publish_notify   on;  # 启用notify

             # on_publish       http://127.0.0.1/notify/publish;
             # on_play          http://127.0.0.1:8080/rtmp/notify/play;
             # on_play_done     http://127.0.0.1:8080/rtmp/notify/play_done;
             # on_publish_done  http://127.0.0.1/notify/publish_done;
             # on_record_done   http://127.0.0.1:8080/rtmp/notify/record_done;
             # on_update        http://127.0.0.1:8080/rtmp/notify/update;

             hls              on;  # 启用hls
             wait_key on;          #对视频切片进行保护,这样就不会产生马赛克了
             hls_path   /www/web/default/live; #切片视频文件存放位置
             hls_fragment    10s; #每个视频切片的时长
             hls_continuous on; #连续模式
             hls_cleanup on;    #对多余的切片进行删
            # hls_plahls_nested on;     #嵌套模式

          
            record           all;
            record_path      /www/web/default/vod;  # 录制保存地址
           #record_append  on;
            record_unique  on;

            #record keyframes;
            #record_path /www/web/default/vod;
            #record_max_frames 100;
            #record_interval 20m;
            
            #exec /usr/local/ffmpeg-3.4-64bit-static/ffmpeg -i rtmp://localhost/live/$name -threads 1 -c:v libx264 -profile:v baseline -b:v 350K -s 640x360 -f flv -c:a aac -ac 1 -strict -2 -b:a 56k rtmp://localhost/live360p/$name;

             # 跟踪客户信息
             exec_play bash -c "echo $addr $pageurl >> /tmp/clients";
             exec_publish bash -c "echo $addr $flashver >> /tmp/publishers";
             # 转换录制的文件格式的MP4
             # exec_record_done /usr/local/ffmpeg-3wp:4-64bit-static/ffmpeg -y -i $path -acodec libmp3lame -ar 44100 -ac 1 -vcodec libx264 $dirname/$basename.mp4;
        }

#       application live360p {
#             live           on;
#             hls            on;  # 启用hls
#             hls_path       /home/live360p;
#             record         off;
#             allow publish  127.0.0.1;
#             deny publish   all;
#        }
    }
}

在http{}前

8、nginx相关命令

/usr/local/nginx/sbin/nginx -s reload #重载配置

/usr/local/nginx/sbin/nginx -s stop #停止

/usr/local/nginx/sbin/nginx #开启

9、添加端口开放

查看端口是否开放

firewall-cmd --query-port=1935/tcp

永久开放

firewall-cmd --permanent --zone=public --add-port=1935/tcp

重启防火墙

systemctl restart firewalld.service

10、设置开机启动

vi /lib/systemd/system/nginx.service

服务代码描述:

[Unit]
Description=nginx
After=network.target
[Service]
Type=forking
ExecStart=/usr/local/nginx/sbin/nginx
ExecReload=/usr/local/nginx/sbin/nginx -s reload
ExecStop=/usr/local/nginx/sbin/nginx -s quit
PrivateTmp=true
[Install]
WantedBy=multi-user.target

保存后重载下服务

systemctl daemon-reload

命令详解:

systemctl enable nginx.service #启动服务
systemctl status nginx.service #查看服务状态
systemctl start nginx.service #开启服务
systemctl stop nginx.service #停止服务
systemctl restart nginx.service #重启服务

11、检查推流端口是否正常

cmd

telnet 140.143.157.56 1935
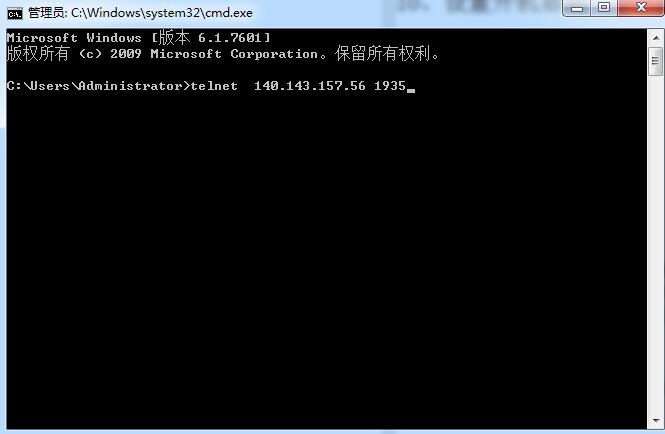
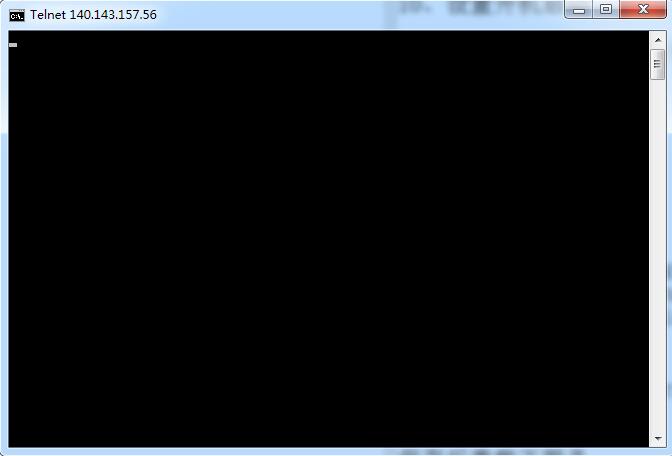
检查端口是否正常.jpg
检查端口是否正常-1.jpg

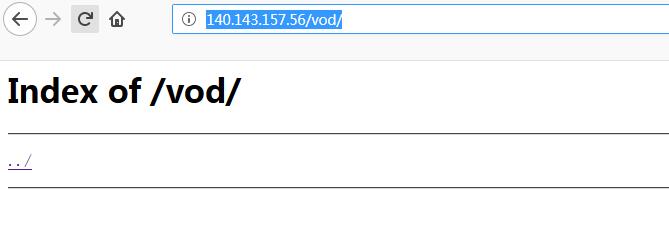
12、直播目录

live /www/web/default/live

vod /www/web/default/vod

13、推流地址

直播地址:rtmp://140.143.157.56/live/

串码:1111
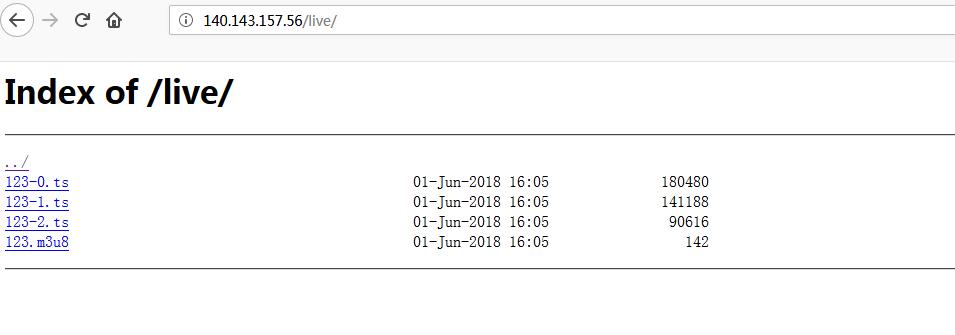
结束-1.jpg
结束-2.jpg
结束-3.jpg

【故障问题】:
thinkphp框架开发过程中或生产环境中,出现以下报错,并且success和error无返回的情况
SyntaxError: JSON.parse: unexpected character at line 1 column 1 of the JSON data

【排查发现】:

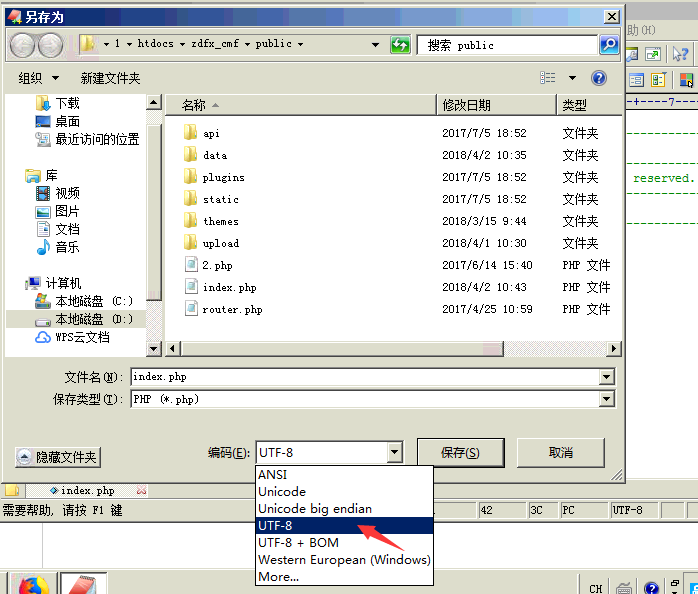
√因为文件编码而出现的故障 默认文件编码应为无bom+的utf8编码格式,不知道是用了什么编辑器打开,保存的时候就默认变成了带+bom utf-8的编码格式 所以json解析的时候会带bom的如空格等返回,就不是纯粹的json,所以报错json解析错误。

【修正解决】

使用Editplus,另存为,将带bom的编码改为utf8即可,见下图
47.png

【editplus破解版下载】
https://pan.baidu.com/s/1AGpGN3HdRXslHtc5uuQgCw (链接失效,请联系#395617441#企鹅邮箱)

基本环境:ffmpeg安装在usr/local/bin/ffmpeg
使用函数:exec

在检查exec在disble_functions没有禁用,safe_model也关闭了,ffmpeg也加入全局变量
在终端上测试命令没有问题,可php用exec执行就出现127,郁闷中。
127.jpg

<?php
exec("ffmpeg -version",$log,$ffmpeg_status);
echo $ffmpeg_status; //返回127
print_r($log); //返回空白
?>

猜测:全局变量的所有者和所有组可能和应用的用户不一致,linux本身的安全机制受影响,可能不允许这么执行外部的依赖程序命令。

假设:不用全局变量,直接找到该程序的安装路径,直接调用看是否可行?
/usr/local/bin/ 为ffmpeg安装的路径
测试效果:

<?php
exec("/usr/local/bin/ffmpeg -version",$log,$ffmpeg_status);
echo $ffmpeg_status; //返回0
print_r($log); //返回字符串
?>

总结:执行外部命令 /usr/local/bin/ exec可行 记之

在PHP中,可用is_writable()函数来判断一个 文件/目录 是否可写,详情如下:

参考

is_writable

(PHP 4, PHP 5)

is_writable — 判断给定的文件名是否可写

说明

bool is_writable ( string $filename )

如果文件存在并且可写则返回 TRUE。($filename 参数可以是一个目录名,即检查目录是否可写。 )

记住 PHP 也许只能以运行 webserver 的用户名(通常为 'nobody')来访问文件。不计入安全模式的限制。

Example #1 is_writable() 例子

<?php
$filename = 'test.txt';
if (is_writable($filename)) {
    echo 'The file is writable';
} else {
    echo 'The file is not writable';
}
?>

但是,上面那个函数在PHP4中是有BUG的,尤其是在Windows服务器下判断不准官方相关bug报告链接如下:
http://bugs.php.net/bug.php?id=27609
为了兼容各个操作系统,可自定义一个判断可写函数,代码如下:

/**
 * 判断 文件/目录 是否可写(取代系统自带的 is_writeable 函数)
 *
 * @param string $file 文件/目录
 * @return boolean
 */
function new_is_writeable($file) {
    if (is_dir($file)){
        $dir = $file;
        if ($fp = @fopen("$dir/test.txt", 'w')) {
            @fclose($fp);
            @unlink("$dir/test.txt");
            $writeable = 1;
        } else {
            $writeable = 0;
        }
    } else {
        if ($fp = @fopen($file, 'a+')) {
            @fclose($fp);
            $writeable = 1;
        } else {
            $writeable = 0;
        }
    }
 
    return $writeable;
}

判断当前环境是win还是linux,可使用php的函数php_uname

下面的代码:
Linux☞

if (stristr(php_uname(), "Linux")) {
 echo "当前系统为linux";
}

windows☞

if (stristr(php_uname(),"windows")){
 echo "当前系统为Windows";
}

php exec 执行一个外部程序

格式:exec('命令','数组','状态')

举例:

ffmpeg -i /data/www/default/livedata/vod/b2ae68b507ccffce6d89f86073495f27.flv  -c copy -copyts /data/www/default/livedata/mp4/b2ae68b507ccffce6d89f86073495f27.MP4

php代码:

$source = dirname(__FILE__).'/livedata/vod/b2ae68b507ccffce6d89f86073495f27.flv';
$output =dirname(__FILE__).'/livedata/mp4';
$dest = dirname(__FILE__).'/livedata/mp4/b2ae68b507ccffce6d89f86073495f27.mp4';
exec("ffmpeg -i ".$source." -c copy -copyts ".$dest,$log,$status);
print_r($log);
echo "<br>";
print_r($status);

返回值:
array() 这里为exce的参数信息返回,比如是ls等命令,会用数组的方式返回
0 | 1 0表示exec已经执行成功,其他代表失败

以上的例子是joyo哥做直播时候,flv转mp4的命令。先在这里做个笔记,方便日后是有(^__^)

说明:
在使用exec前,一定要在php.ini的disable_functions 将exec去掉(禁用函数),不然无法执行,执行脚本在逻辑上和安全的防范要多注意。